Recently I had to return the laptop from my workplace, and was briefly left without a working laptop. Luckily (that’s what I thought at the time), we had a spare old 2013 macbook laying at home with an upgraded battery and a 256 GB SSD. The only problem was – it had MacOS installed. Now, I don’t really have a problem with using MacOS, in fact I had to daily-drive it for the past 8+ years, as most of the time I was using a work-issued laptop, which unsurprisingly ran MacOS. But this time I thought, wouldn’t it be fun to try and install a working Linux distro on this old macbook? I mean, it’s not like I have anything better to do on a weekend, right? What followed was a journey of pain, suffering, surfing 8 years old forum posts, with occasional glimpses of hope and joy, which made the entire experience worth it. Some of the problems I encountered were really Mac-hardware specific, while the others had to do with the rather early stage of Wayland protocol and the HiDPI support in general in Linux (worsened by the disinterest of corporate software developers in spending at least some time on making sure their product works on not-so-widely-used OS-s).
The problem was kind of exacurbated by two facts: I didn’t have a proper USB-A-to-ethernet dongle, and I had only one very unreliable 8 GB USB stick. Some of my failures can definitely be accounted to both these circumstances, while the others were really due to my lack of experience with low-level Linux configuration and troubleshooting, and the very specific hardware configuration I had to work with. At first I was trying to install Linux along with MacOS, to avoid accidentally bricking the Recovery Partition, but as it turned out – it’s really hard to completely wipe what Apple calls Internet Recovery (accessed by holding the ⌘+⌥+r or Cmd+Alt+r combination during boot). So clean install it was.
Picking a distro
My path to picking the right distro started at the very top with Arch (which I used for a while before) quickly descending to the more popular and well-documented distros (which have also displayed glimpses of hope of working with macbooks); remember, I only had a weekend for this. I came up with the following list of my personal requirements that I thought would be causing most of the problems:
- wlan/bluetooth drivers
- webcam drivers
- touchpad that supports multitouch gestures
- hidpi support
- battery life
After doing some digging, I found that Arch had some issues with some of the driver support on the latest Macbooks, so I thought that going with Arch/Manjaro was a bit too risky. I actually tried to install Manjaro first, but it had some issues partition the drive during the installation, and given the lack of time for troubleshooting, I decided to try out something a bit simpler. Debian installed properly, but then had some issues installing the desktop environment from the USB stick. So… I went with Ubuntu which was also conveniently the easiest distro to find Macbook-specific installation guides for.
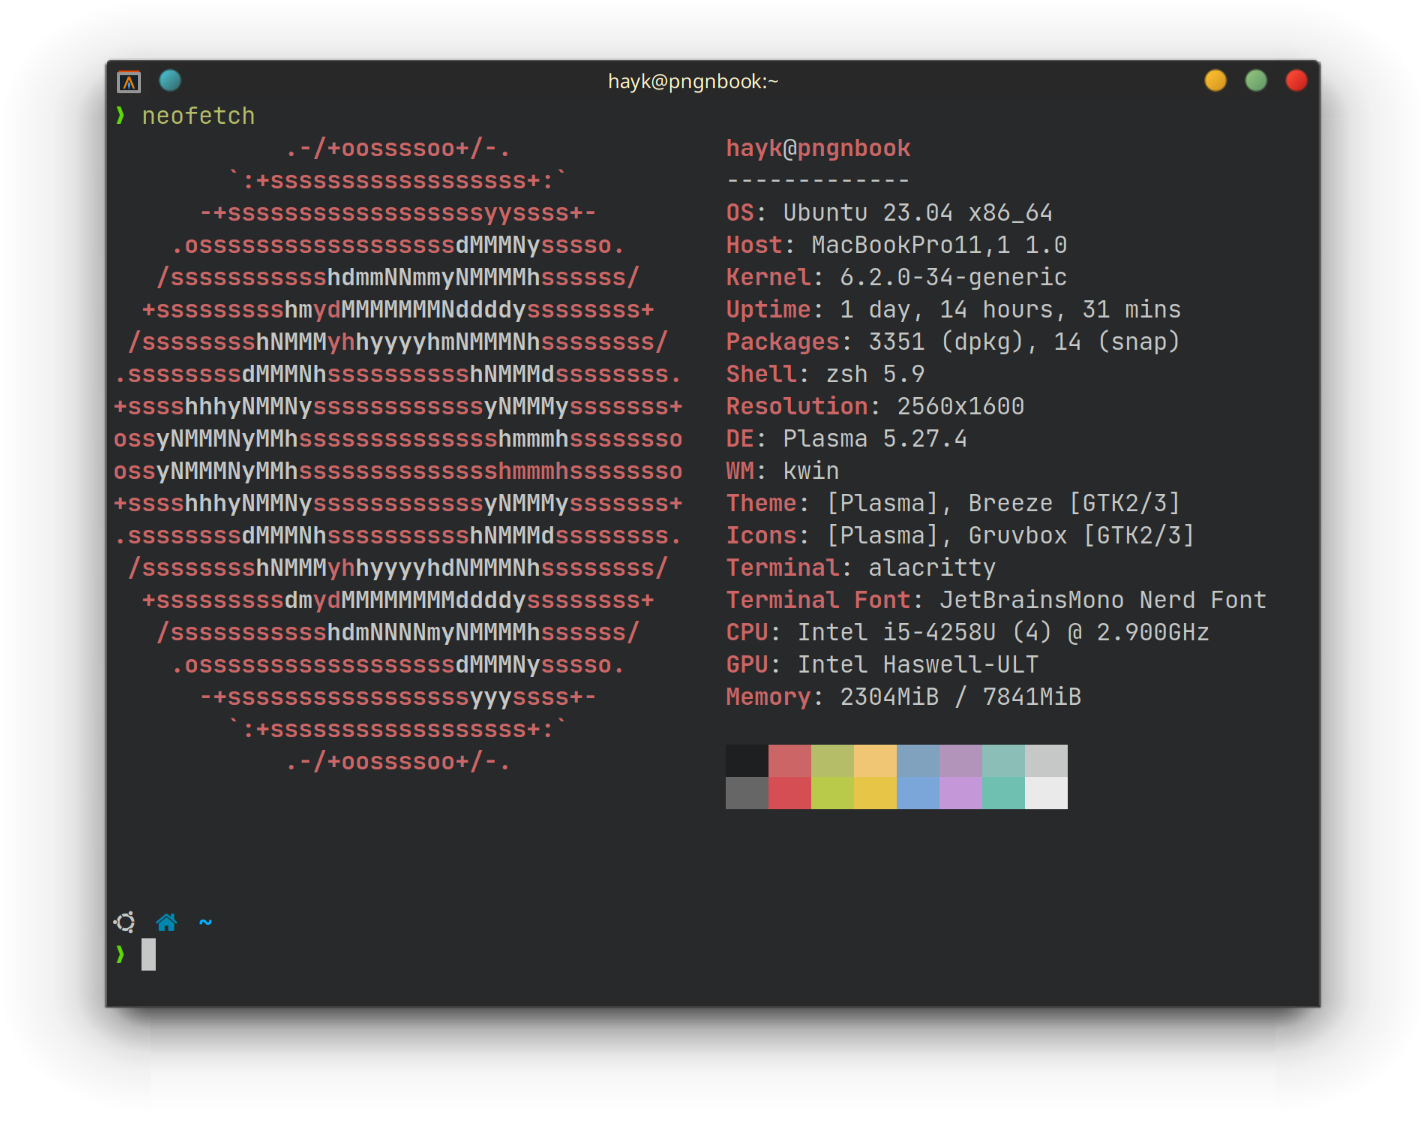
Wifi drivers
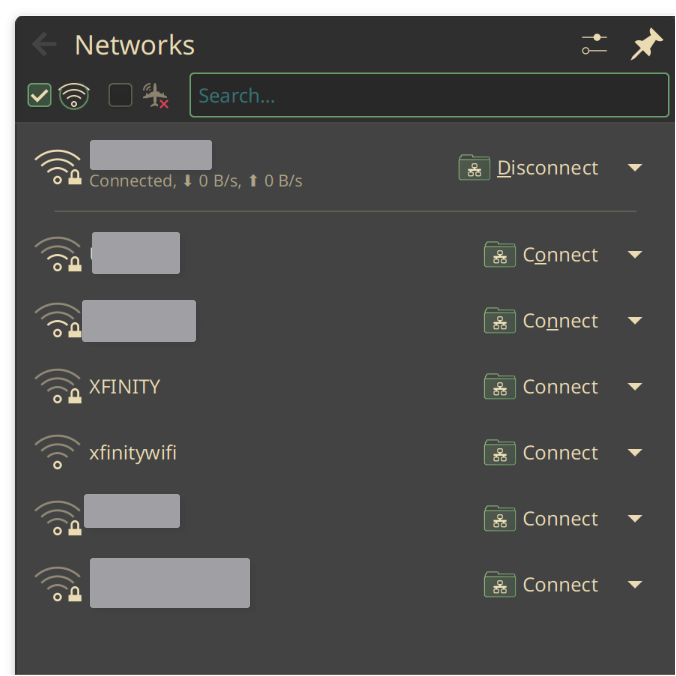
Ubuntu installed most of the things properly, except for one of the most important things – the wlan drivers, which meant by the time I booted into the freshly installed system, I had no internet connection. The Macbook had specific Broadcom wifi card, which required some proprietary drivers to work. Luckily, they were included in the installation USB stick (pool/restricted/b/bcmwl). There is even a way to specify this directory as a source for apt to look for the packages. Not so luckily, the drivers depended on a bunch of things that were either not included in the installation USB stick, or were not installed by default. After carrying back-and-forth lots of .deb packages on another USB, I decided to simply get an ethernet cable. After that, the installation was as simple as running:
sudo apt install bcmwl-kernel-source
sudo modprobe -r b43 ssb wl brcmfmac brcmsmac bcma
sudo modprobe wl
To make sure the drivers are loaded on boot, I also added “wl” to /etc/modules, and “blacklist b43 ssb wl brcmfmac brcmsmac bcma” to /etc/modprobe.d/blacklist.conf. I’m not entirely sure that the latter blacklisting was necessary, as the driver is installed as a kernel module with dkms, and it most likely does the blacklisting itself. And that’s it, I had wifi!
Webcam drivers
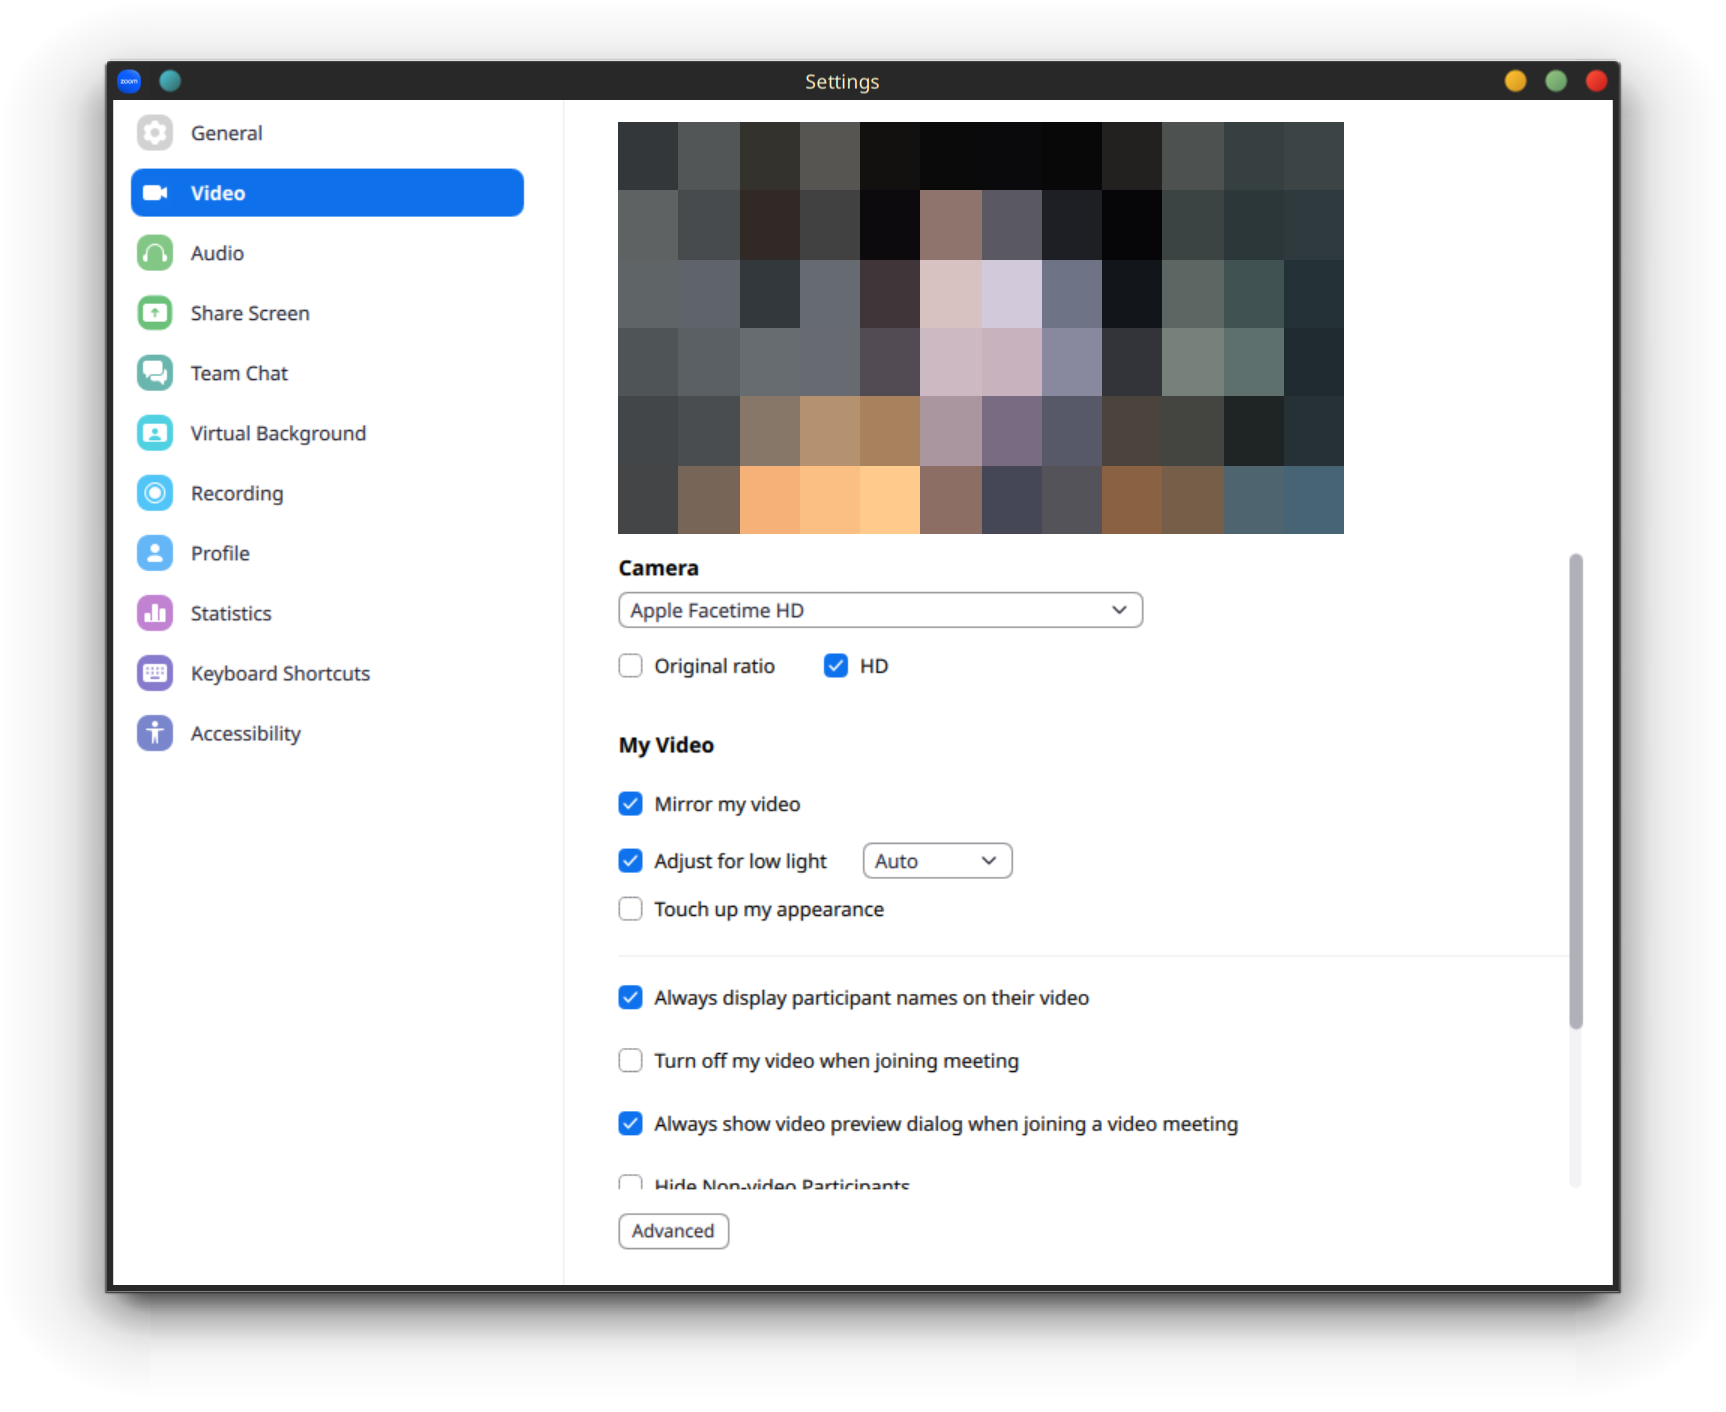
Webcam drivers were a bit easier, though the webcam itself didn’t work from the first try (in fact, the built-in Cheese app never seemed to work, though I got it working with Zoom). Apparently there is a reverse-engineered driver and firmware for the Macbook camera, as mentioned in mutliple threads including this one. So I followed the guides:
sudo apt install git cpio curl xz-utils
git clone https://github.com/patjak/facetimehd-firmware.git
cd facetimehd-firmware
make -j
sudo make install
cd ..
sudo apt-get install kmod libssl-dev checkinstall
git clone https://github.com/patjak/bcwc_pcie.git
cd bcwc_pcie
make
sudo make install
sudo depmod
sudo modprobe -r bdc_pci
sudo modprobe facetimehd
And then to enable it on boot, simply add “facetimehd” to /etc/modules. After rebooting (a few times), the webcam worked!
There are a couple of other tweaks I did to make the battery last a bit longer (I haven’t benchmarked it myself, so can’t tell how much it helped). A detailed guide can be found here in the “Battery Optimisations” section.
Desktop environment
Finally, it came to the toughest part of the whole challenge which took by far most of my time to configure – the HiDPI support and multitouch gestures. Turns out, that the more recent Wayland protocol supports multitouch gestures natively. Fractional scaling, which I had to use on the HiDPI Mac display to avoid having to get a microscope to read the text, also looked exponentially crispier with Wayland. Ubuntu Unity desktop, which I had installed initially, used X11, which meant it was time for KDE, so familiar to me from my time with Arch/Manjaro.
I also tried GNOME (Wayland) which worked ok, but the two-finger scrolling experience was a bit rough (too fast and jerky), and I couldn’t find a way to configure it.
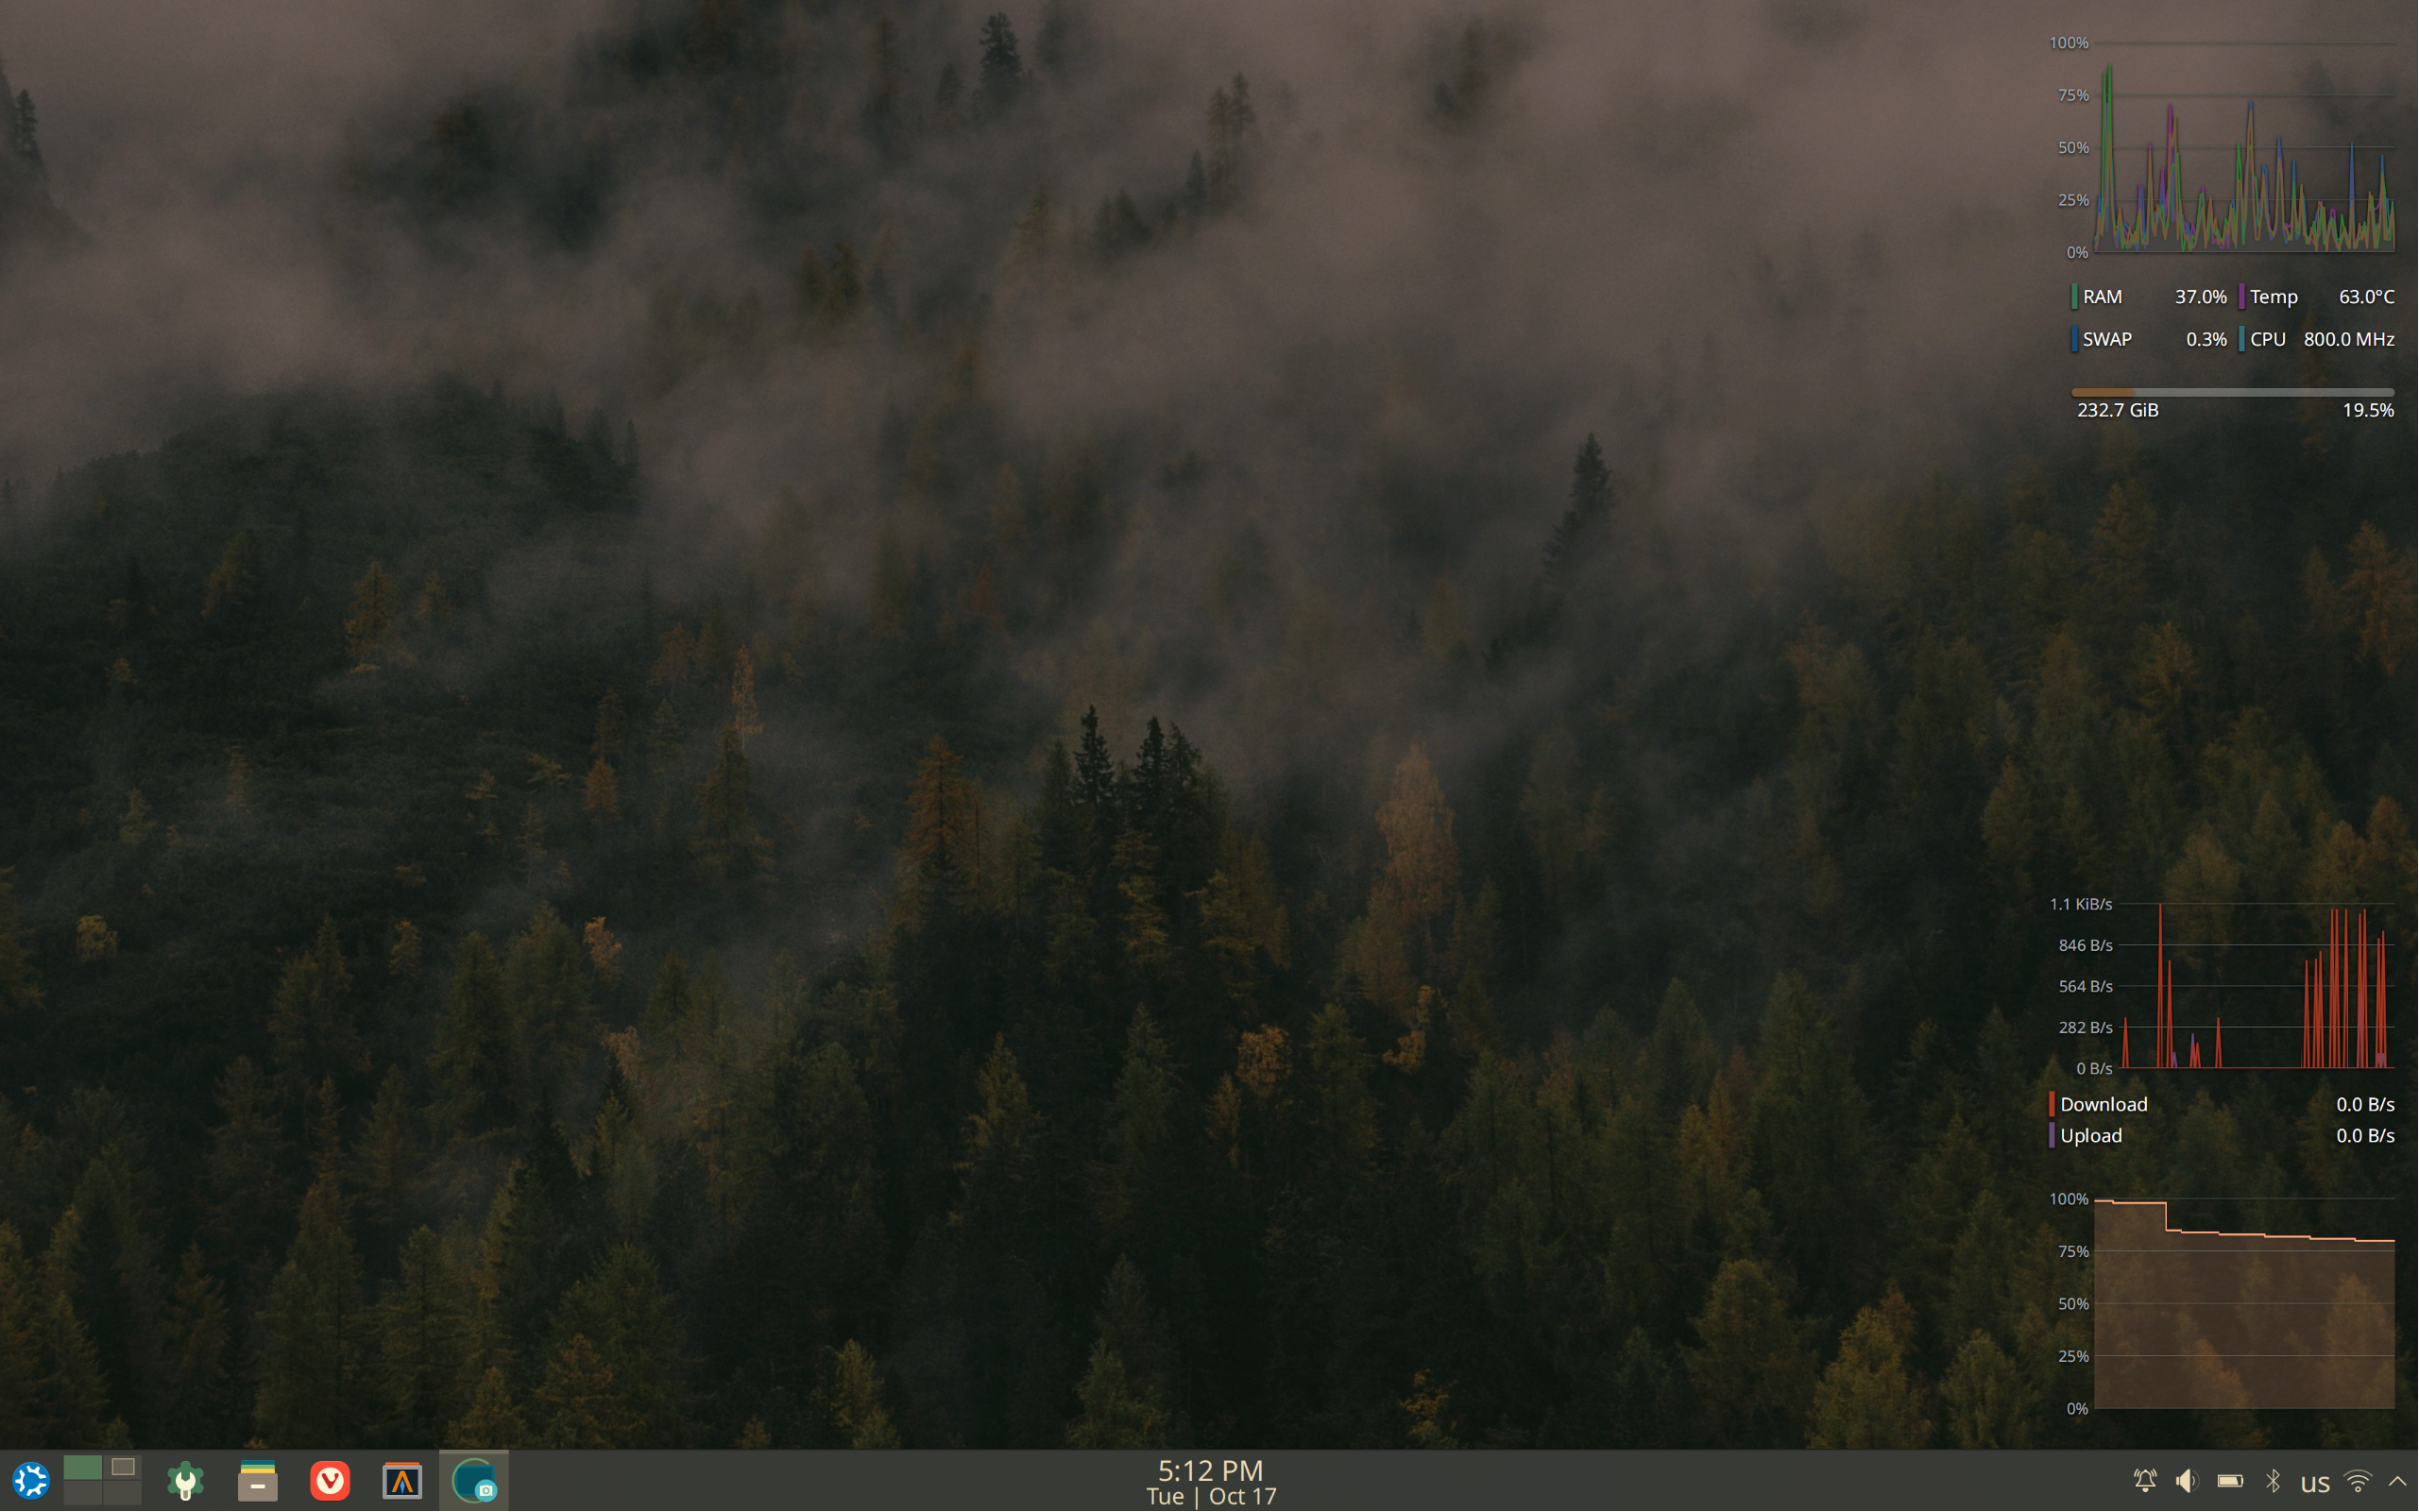
First of all, you need to pick the “KDE (Wayland)” when logging in to enforce the usage of Wayland. Then the desktop environment itself supports multitouch scrolling, three-/four-finger swiping, and fractional scaling without any blurry artifacts. Mozilla worked fine out of the box supporting the multitouch gestures for scrolling and looking crisipy a.f. with the global 150% scaling set.
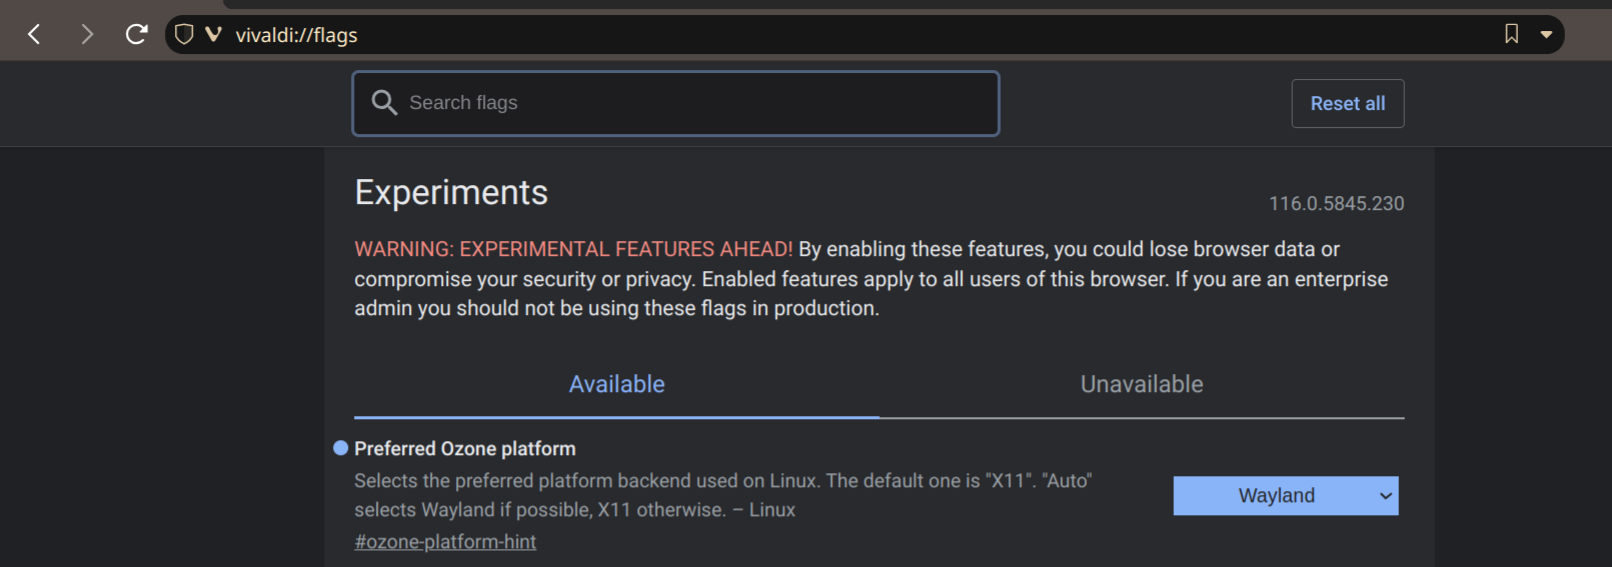
However, not all the apps support Wayland, which seems to be the issue with the Electron engine that most of these web-based apps are using (such as Slack, VSCode, Spotify, etc). In Chromium-based browsers (Brave, Vivaldi) one needs to set the “Preferred Ozone Platform” to “Wayland” through chrome://flags.
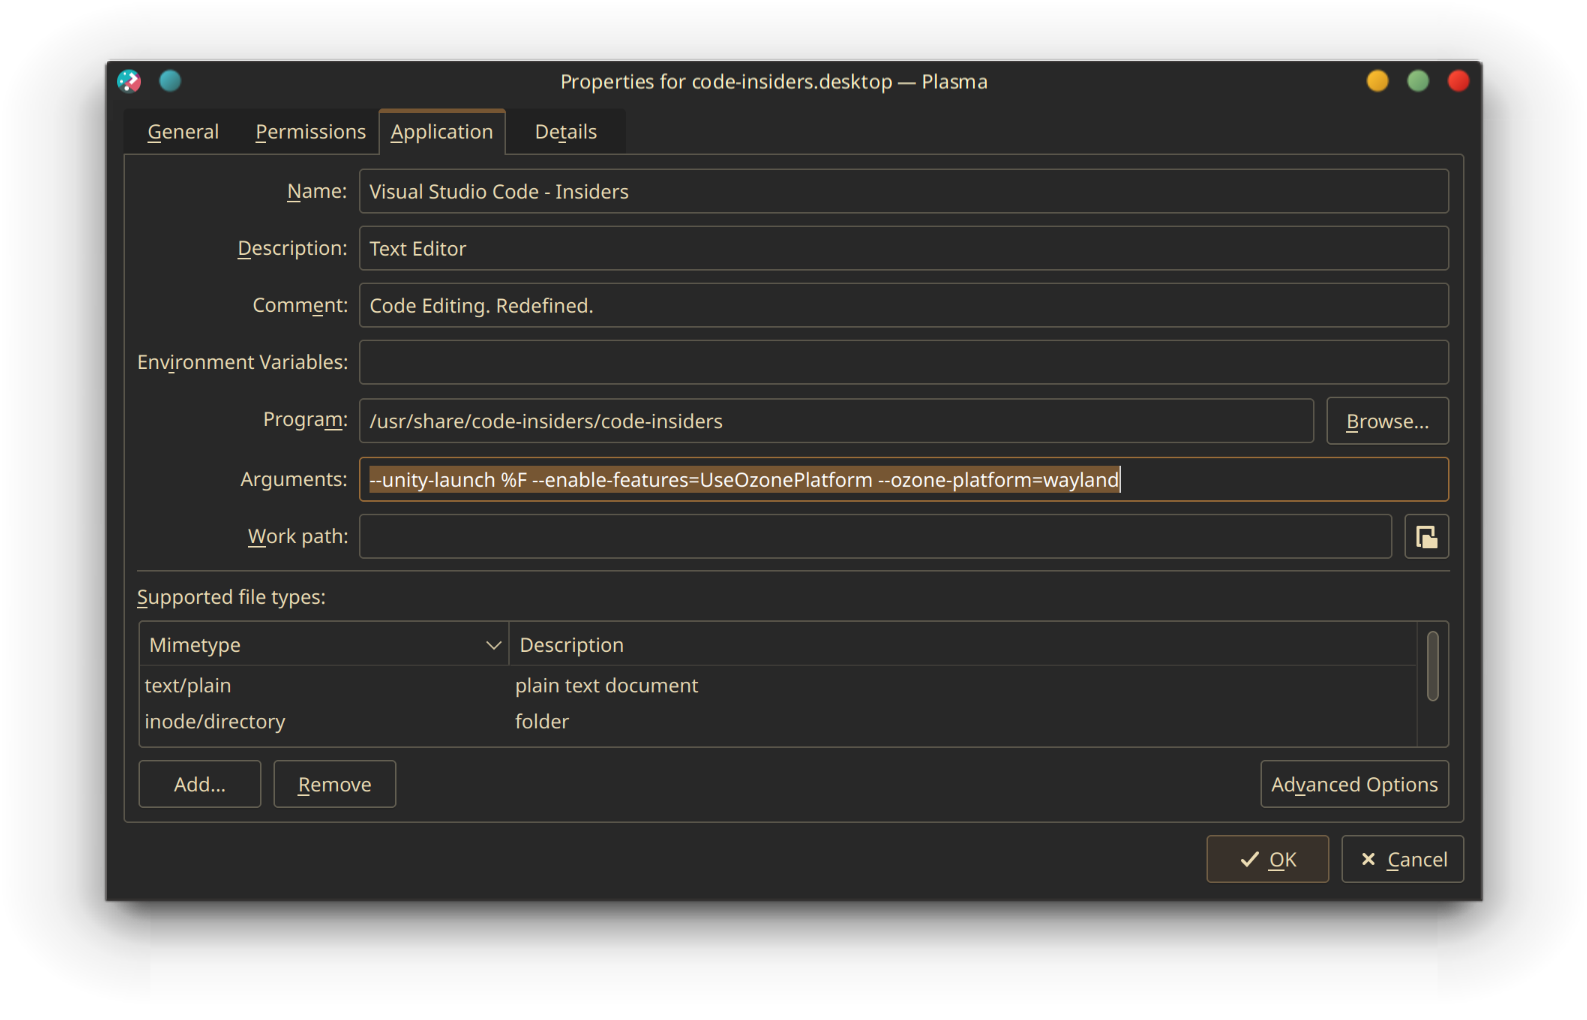
For the electron-based apps it’s a bit more complicated. For Spotify, for instance, it’s as simple as adding the “--enable-features=UseOzonePlatform --ozone-platform=wayland” flags when launching the application (I added them to the .desktop file). With the latest version of VSCode ~1.86 (or VSCodium) this didn’t seem to work, and the app simply crashes when you try to resize the window (for some people this did work though, so your milage may vary). I first manually installed an older version 1.67 of VSCode and froze it to avoid updating it (sudo apt-mark hold code). That seemed to work, but many extensions had trouble installing on an older versions.
The ultimate solution came from the depths of github discussions. Apparently, the problem with crashing is caused by the incorrect title bar implementation. So all you need to do, is add the following in the VSCode configuration json:
{
  "window.titleBarStyle": "custom",
}
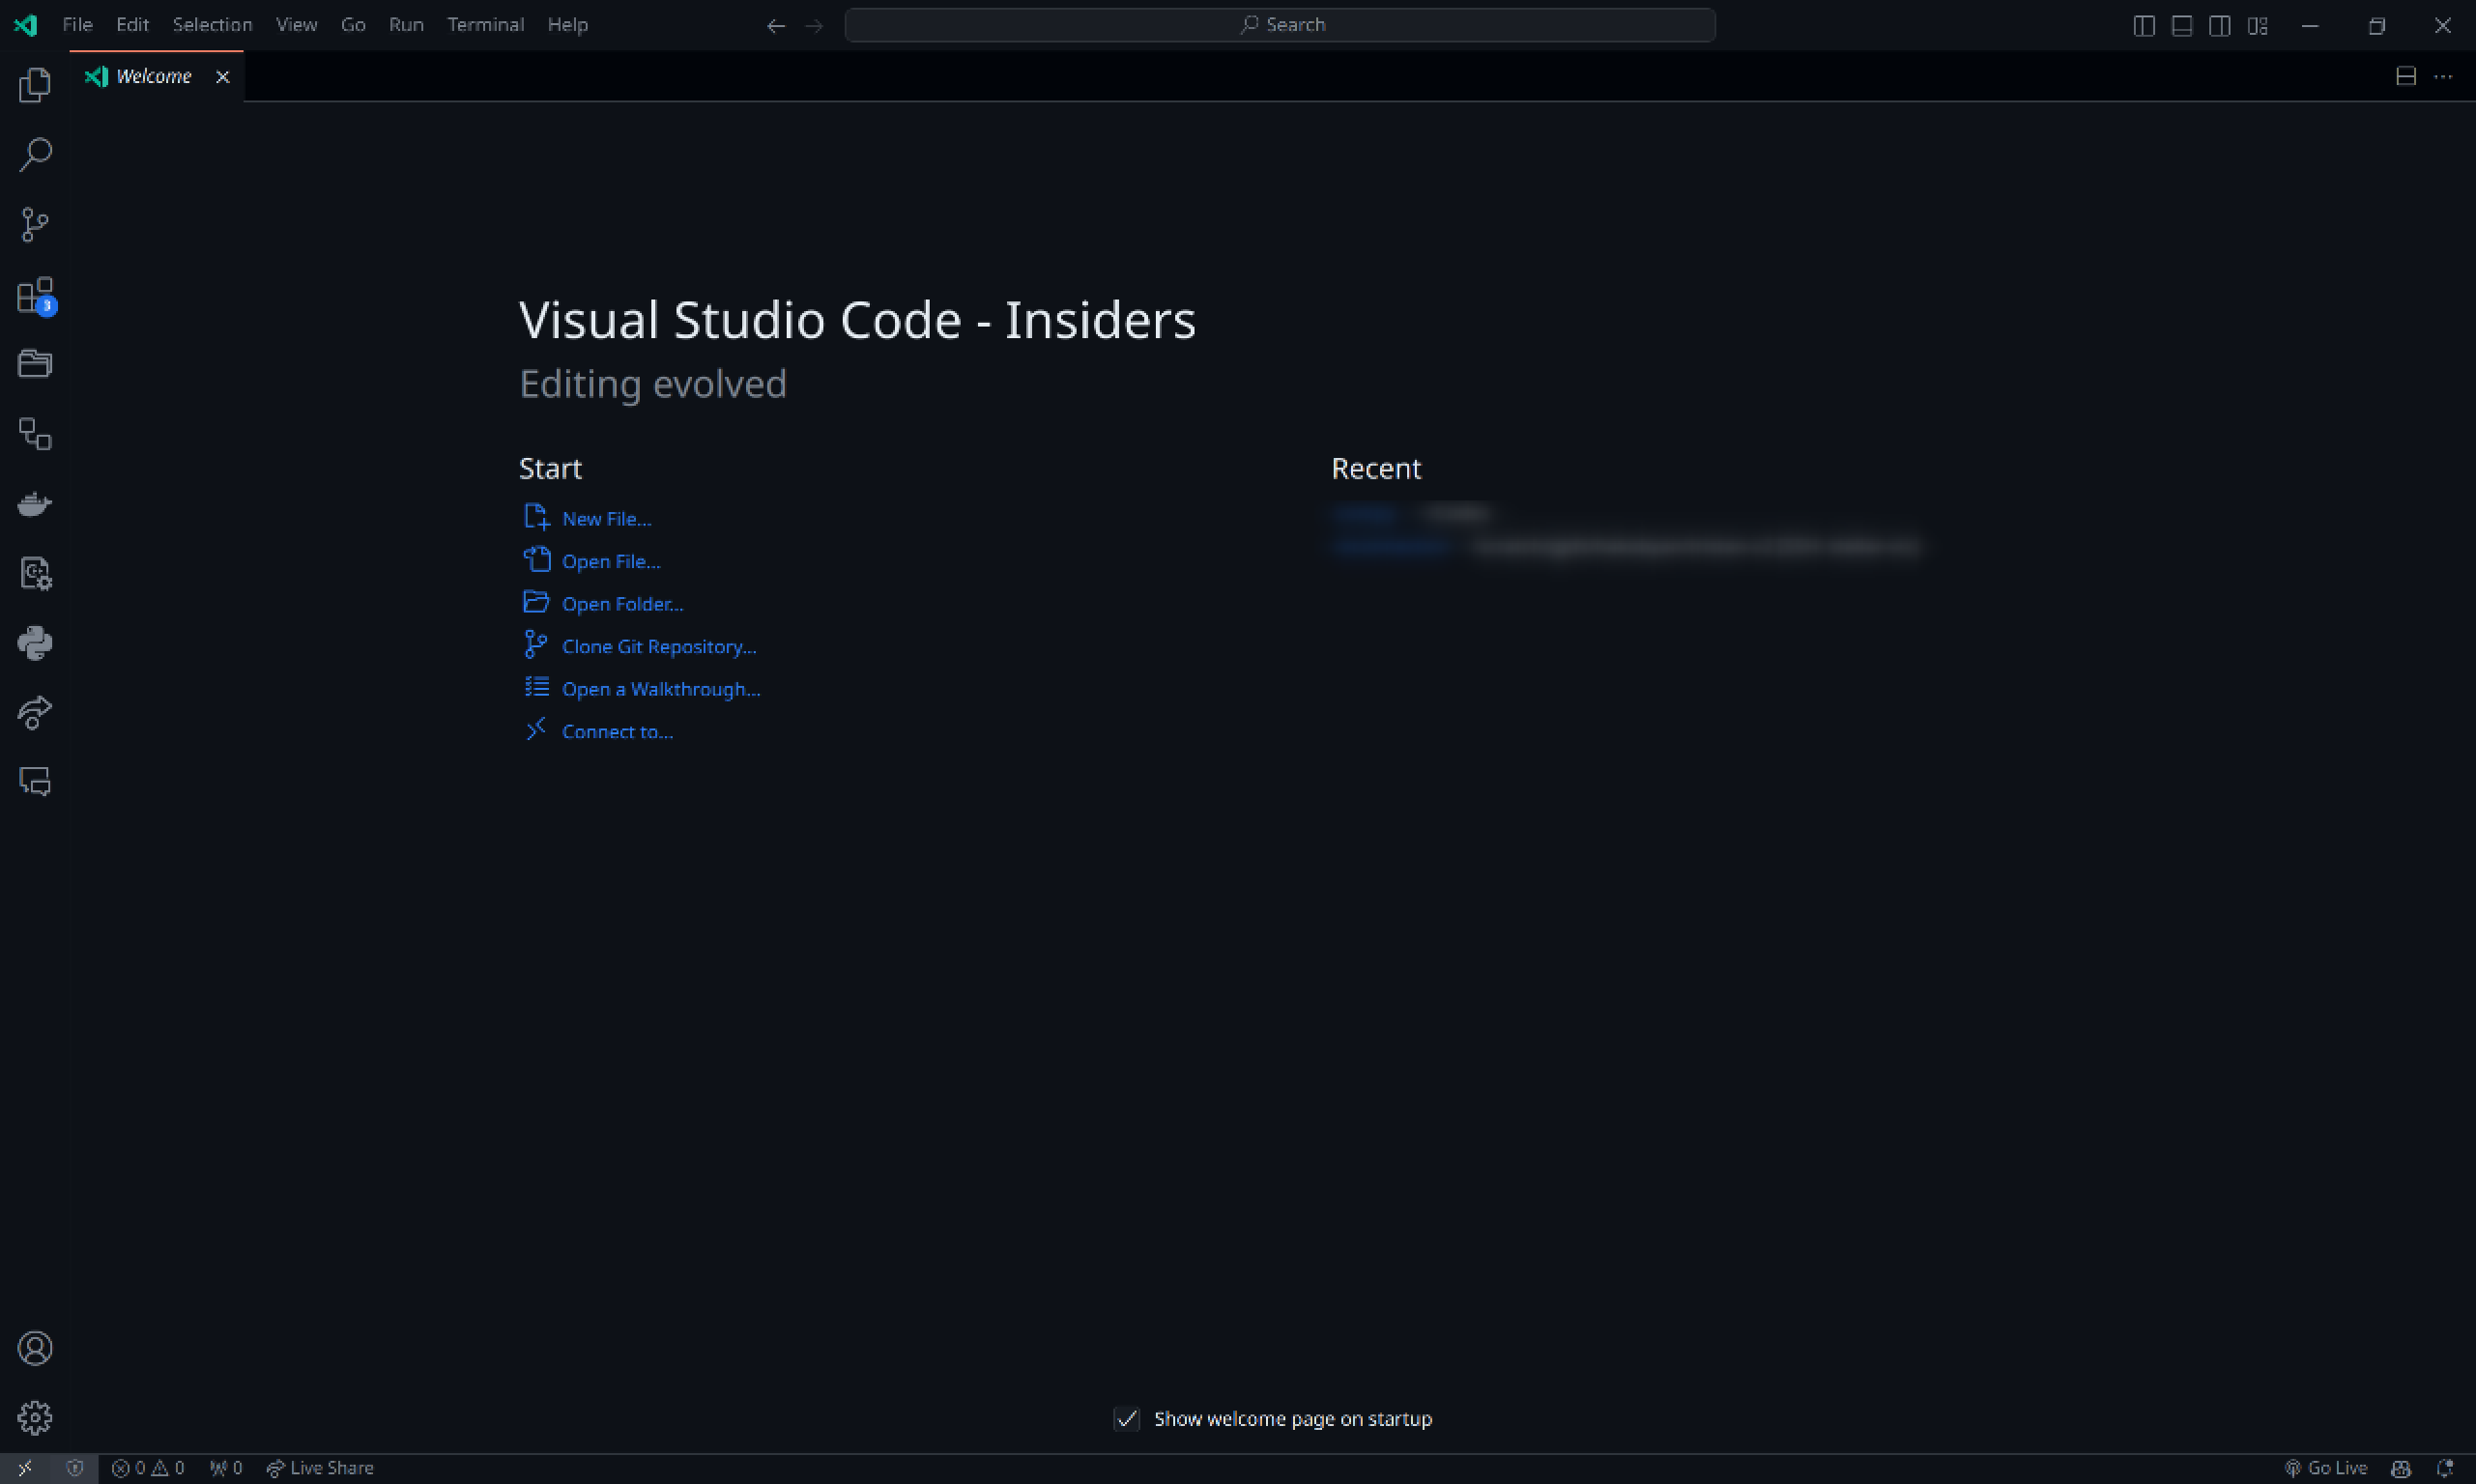
In combination with the mentioned --enable-features=... and --ozone-platform features, the app worked flawlessly with the Wayland backend with a crisp fractional scaling!
With Slack and Zoom I had no success, and at this point I’m not even sure it’s even a possibility. An alternative is, of course, to use the web versions of these apps.
Conclusions
Overall, the experience could have been smoother, but it wasn’t too bad. I mean, sure, I had to compile my own camera drivers, and do some shaman magic to make things look good on a HiDPI monitor. But I think that’s the whole fun of having Linux: it implicitly forces you to learn new things and try things out for yourself to make them look and work exactly how you want them to. As an added bonus, the more you do this, the quicker you troubleshoot possible future problems and the more you learn about the inner-workings of the OS you’re relying so heavily upon.
The 2013 Macbook itself isn’t really the best hardware for the Linux kernel with a modern desktop environment. It sometimes gets pretty hot and noisy on some basic tasks, like listenging to music or playing youtube, the battery only lasts for about ~2 hrs while very basic code/text editing. The apps occasionally crash when the load is too heavy for the hardware to handle (e.g. screen sharing with zoom).
That being said, it doesn’t run great MacOS either. Sure, the experience is a bit more polished and streamlined, but realistically, the difference isn’t as it was years ago. Linux is catching up, and with its massive reservoir of open-source development community, apps, extensions, and customisation options, it’s definitely a viable alternative to any modern proprietary OS even for an inexperienced user, albeit perhaps not on a 10 y.o. hardware ;).
cd ~